Surface Roughness (Ra)
Ra value; the measure in grinding and polishing
When grinding stainless steel, aluminium, brass and other materials, we have to deal with surface roughness. The eye can of course determine whether something is nice or neat, but it is still subjective. With a roughness value (Ra value), we have something in our hands that can be measured. Thus, the application often determines which Ra value is needed. This article will tell you everything you need to know about surface roughness, low roughness values and the difference between Ra, Rt and Rz.
What is surface roughness?
Surface roughness, also called Ra roughness, is a concept from friction science and is mainly used in the metal industry. We use this term to indicate, as the name suggests, the roughness of a surface. The following terms are used for this purpose:
- Ra value;
- Rt value;
- Rz value.
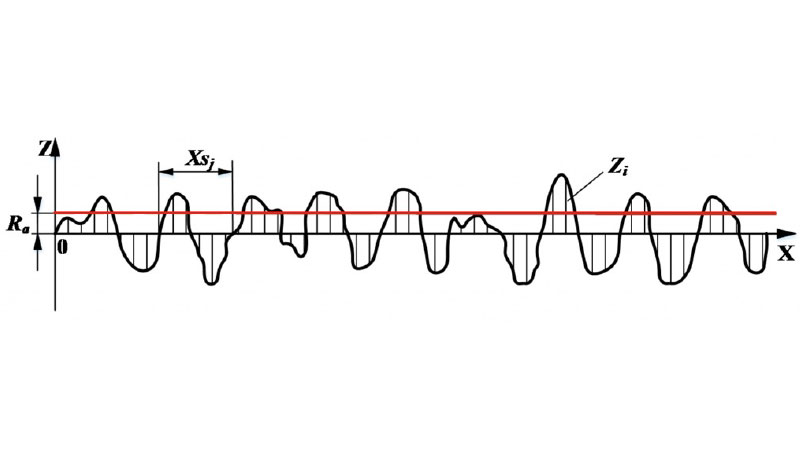
If we want to know what surface roughness means, we first need to know what the profile of stainless steel is. If we were to zoom in on the surface of a metal, it would look like a graph with peaks and valleys. This is called the profile. You can see an example of a profile in the image below.

Fig. 1 Profile surface of the metal.
How is surface roughness measured?
The most common indication of surface roughness is the value Ra. This is an average value of all deviations from a straight line, within the length to be measured. This is measured using a profilometer or a laser scanner. The larger these deviations are, the rougher the surface is. If the Ra is small, it means the surface is smooth. The Ra value is expressed in micrometres (µm) or micro-inches (µin.).
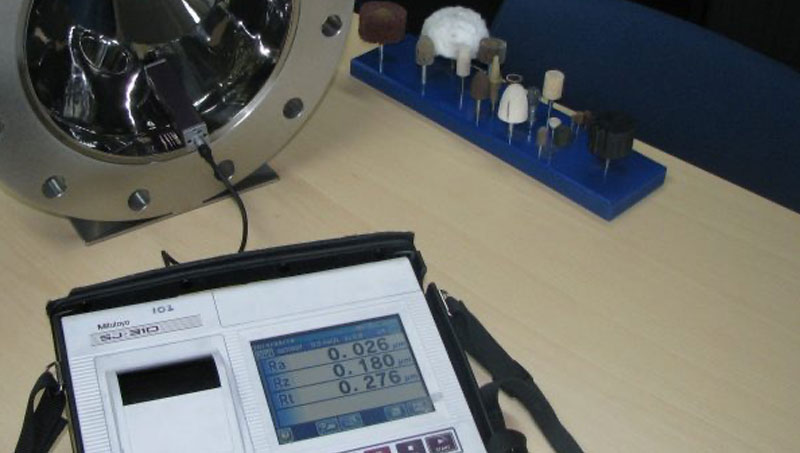
The roughness value is measured by passing a probe, a small and sensitive needle, over the surface to be measured. This measures the peaks and valleys of the material, i.e. in the case of a ground plate, the depth and height of the scratches caused by grinding.

Fig. 2 The surface roughness is measured with a roughness meter. Here we see the Ra value, Rt value and Rz value.
What is the difference between Ra, Rz and Rt?
The Ra value is not the only value in which surface roughness can be measured. Other designations for surface roughness include Rz and Rt value. There is indeed a difference between these terms, namely:
- Ra value: as mentioned earlier, this term is most often used. It refers to an average value of all deviations from a straight line within the length to be measured.
- Rt value: indicates the difference between the highest peak and the lowest valley.
- Rz value: refers to an average value. Consisting of the average of the sum of the 5 highest peaks and the 5 deepest valleys over a measurement length.
Why is a low roughness value important?
A low Ra roughness is desirable in many cases. Reasons include cleaning and wear. Stainless steel and other materials should generally have a low surface roughness so that the materials are easy to clean. Also, dirt and bacteria are less likely to adhere with a low roughness value. Bacteria and microorganisms thrive on coarse texture, porosity, micro-cracks and other uneven surfaces. It is therefore important in some industries that these occur as little as possible on the material.
In addition, low surface roughness slows down the wear process of a material. The rougher the surface, the sooner it wears out. One reason for this is the high coefficient of friction, which means that more force is required to slide across the surface.
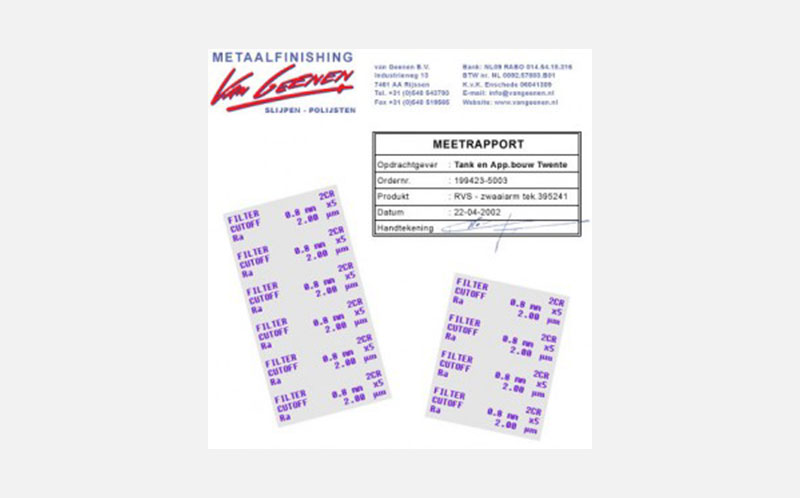
Particularly in machinery for the food and pharmaceutical industries, the grinding needs to meet standards regarding surface roughness. Also in the semiconductor industry, high demands are made regarding roughness values. To achieve the most accurate measurement possible, our measuring devices are regularly checked and calibrated according to a fixed procedure. If necessary, roughness measurements are performed to check whether a product complies with the roughness values. This involves making a measurement report and sending it along to the customer.

Fig. 3 A measurement report of the roughness values gives a good insight in the roughness of the material.
How to achieve low roughness values?
To achieve low roughness values, several steps have to be followed. First, the surface must be cleaned of previously mentioned issues such as cracks, unevenness and porosity. This is done by sanding and grinding the surface. After this ‘clean grinding’, step-by-step finishing is done with various grain sizes to a fine finish, or low surface roughness. As shown in the table below, the finer the grit, the smaller the Ra value.
| Grit size | Ra value | Rt value |
|---|---|---|
| # 60 | 3,4 | 23,5 |
| # 100 | 2,65 | 18 |
| # 120 | 2,3 | 16 |
| # 180 | 1,7 | 11,5 |
| # 240 | 1,2 | 7,5 |
| # 280 | 0,95 | 6 |
| # 320 | 0,75 | 4,5 |
| # 400 | 0,45 | 2,8 |
| # 500 | 0,4 | 2,5 |
It is important to bear in mind with the above table that this is an approximation. When a particular Ra value is required, just stating a grain size is not enough. This is because wear on a grinding belt and prior grinding steps can cause the roughness to be different. It is therefore important that the customer always names an Ra value in the application, provided it is desired.
When is a high roughness value needed?
In some cases, a high roughness value is desired, for example when better adhesion when bonding stainless steel sheets is required. In that case, the surface can be roughened by grinding it coarsely. This will make the material adhere better to, for example, a base plate or façade. A high roughness value is also often chosen for anti-slip applications.
Surface roughness and the cleanroom
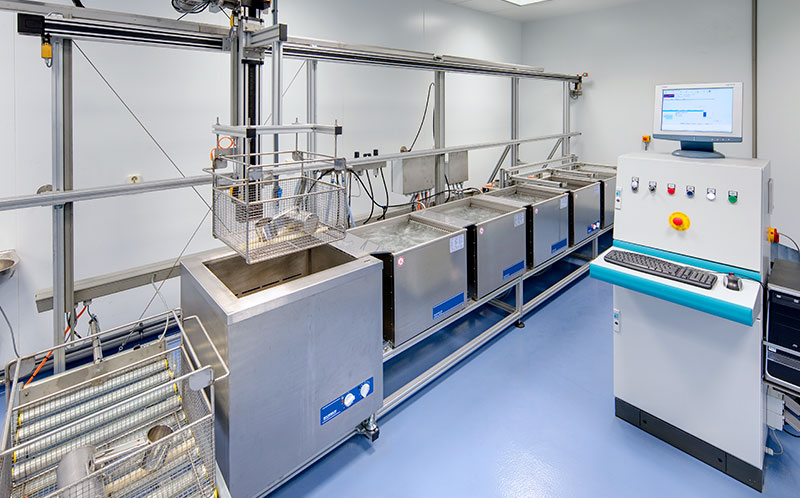
Van Geenen has been cleaning metal and plastic products in its own Cleanroom for many years. These are products from the high-tech, semiconductor, food, medical and pharmaceutical industries, among others. Cleaning these products is often done in combination with a grinding and polishing job, simply because products with a low surface roughness can b e cleaned better. That is one of Van Geenen’s great advantages; first have your products processed to the right Ra roughness, then have them cleaned. All under one roof. For this, Van Geenen has various options without size limitations:
- Large space for pre-cleaning and spray cleaning;
- Large cleaning baths;
- Large ultrasonic baths;
- Large cleanroom area for assembling products under cleanroom conditions;
- Cleaning and packaging at Grade 2 and 4 levels.

Fig. 4 After your product has the correct Ra value, we can immediately clean it in our ultrasonic baths, among other things.
Achieve the desired surface roughness at Van Geenen
Do you have any questions regarding surface roughness, or are you interested in our services and products? If so, please feel free to contact us. This also applies to requesting a quotation for grinding and polishing your materials. We will gladly prepare one for you without any obligation. Would you like to contact Van Geenen? This can be done via our contact form, by sending an e-mail to info@vangeenen.nl or by calling us on +31 (0) 548 – 543794.